
How to Care for Natural Wood Cabinetry
Start cabinetry care by identifying the installed finish. The same wood appearance can come from different materials and coatings, so a cleaning method that suits one surface should not automatically be used on another.
Keep a useful finish record
Save the approved finish name, material or coating information and any manufacturer care sheet supplied for your project. Keep a photograph of the accepted sample with those documents. This record helps the team answer a later cleaning or service question without guessing from a phone image. If you have inherited cabinetry and do not know the finish, say so. A visible grain pattern alone does not identify a solid-wood surface, veneer, laminate or protective coating.
Match the cleaning method to the actual product
Ask for the routine recommended for the selected finish and follow it, including the specified tools, products and drying method. Product instructions can differ. For example, Wilsonart’s laminate care document describes mild soap or detergent with a damp cloth or sponge, followed by rinsing and drying. That is guidance for the named laminate product, not a universal recipe for a painted or wood cabinet. Do not transfer stain-removal or restoration methods between unrelated surfaces.
Document a problem before attempting a repair
If you notice a changed surface, sticking front or loose component, photograph the whole cabinet and the affected area. Record when it appeared and whether anything nearby changed, such as a leak, appliance or recent work. Send that information to the project contact before applying an unfamiliar product or adjusting unfamiliar hardware. Good photographs and a clear description are more useful than a guessed diagnosis. Avoid covering up evidence that the team may need to assess the problem.
Use the project’s service route
Keep warranty and service information with the finish record. LeVika’s public lifetime-warranty summary concerns qualifying faults without external physical impact; it does not replace the written terms for the work or establish that every surface change is covered. Ask the team to assess the issue rather than deciding coverage from a photograph or a general article. After the work is completed, retain the approved documents and service correspondence so a future question can be connected to the correct project.
Your next useful steps.
Three questions to bring.
- What is the actual surface and coating?
- Which care document applies to it?
- Who should review this issue before I try a repair?
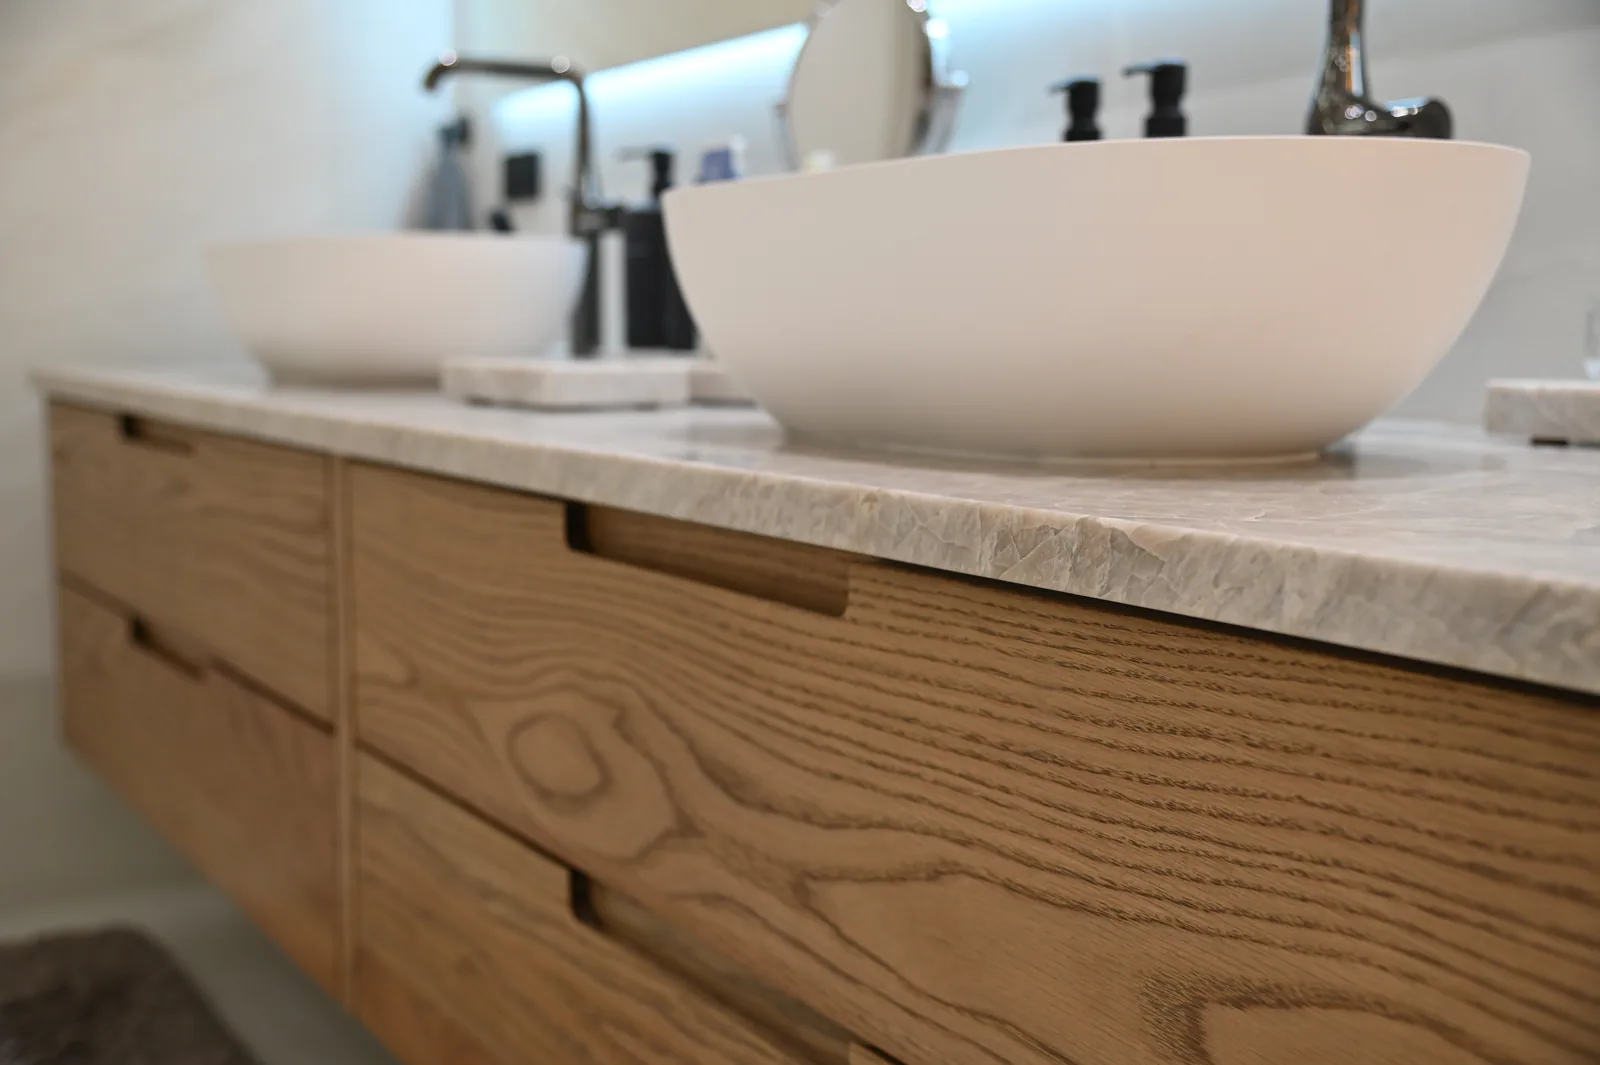
Product-specific manufacturer instructions and the installed project specification take precedence over a generic care article. No material identity is inferred from the example photograph.