
Which Photos to Take Before a Virtual Kitchen Consultation
A useful photo set explains the room and its constraints. It does not need to look like a portfolio shoot, but the images should be organized so the team can connect each view to the rough plan.
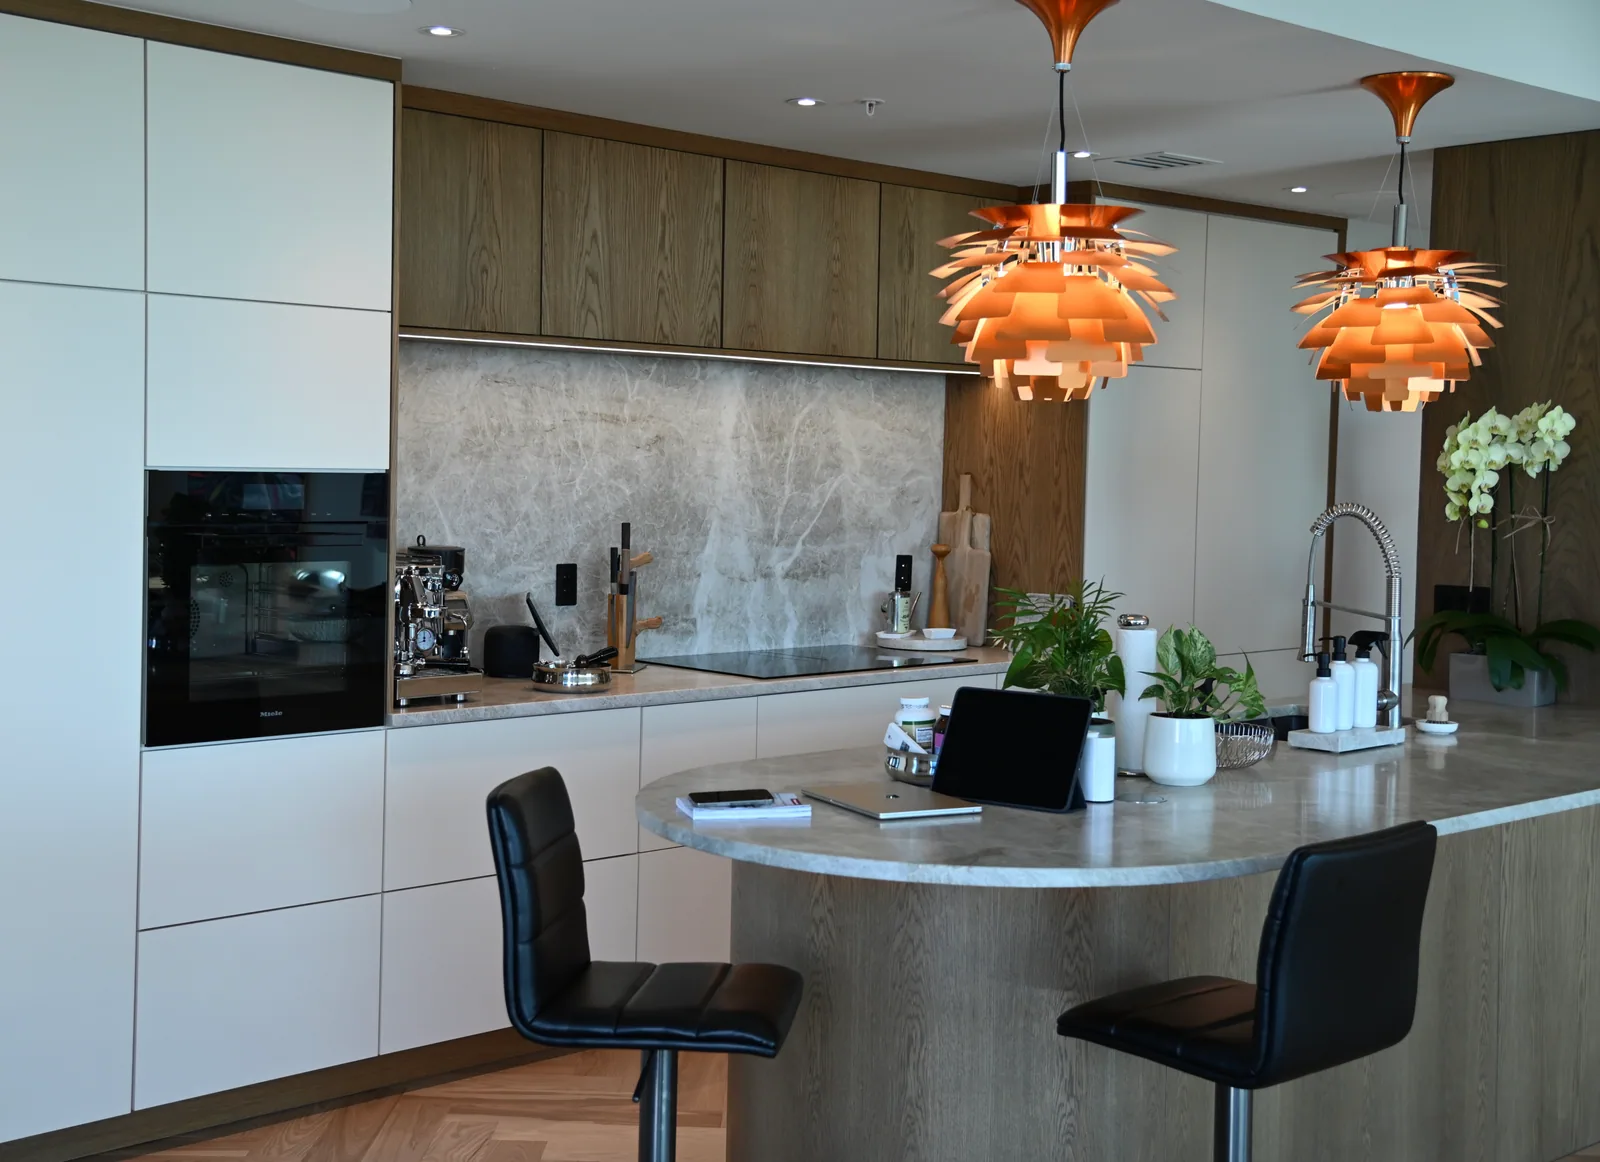
Capture the room systematically
Take a wide view from each corner where practical, then photograph each wall directly. Include the ceiling, floor and transitions into adjoining rooms. Keep doorways and windows visible rather than framing only the cabinets. Label the views using the same wall names as your sketch. Avoid relying on one extreme wide-angle image, which can make proportions difficult to judge. Photographs supplement dimensions; they should not be treated as a reliable scale drawing by themselves.
Add the details that affect cabinetry
Photograph existing appliance labels or model information where accessible without moving or disconnecting equipment. Include visible service locations, trim, soffits and any area that is damaged or unusual. Show storage problems with representative everyday items present. If something is hidden or inaccessible, say so instead of attempting unsafe access. The design team needs to know which conditions are observed and which still require a professional site review.
Keep the package clear and private
Group the files by room and add a short note explaining what each important image shows. Remove unrelated personal documents or identifiable family details from the frame where possible. Send the photos through the agreed project channel and avoid publishing private access information in a general message. Include a rough plan, the project location and your main questions. A concise, well-labelled set gives LeVika a stronger starting point than many near-duplicate photographs with no explanation of the room's orientation or priorities.
Your next useful steps.
Three questions to bring.
- Does every wall on our sketch have a matching photo?
- Did we capture appliance labels, soffits and service locations?
- Is anything personal or private visible in the frames?
Preparation guidance. Photos support the first review; they are not a scale drawing, and hidden conditions are checked on site by professionals.