
How to Compare Two Kitchen Layouts in 3D
Change the layout while keeping the underlying room and equipment information consistent. Otherwise, an attractive comparison may really be comparing two different sets of assumptions.
Establish a shared baseline
Enter the room dimensions and openings, then identify fixed services and selected appliances in your notes. Choose the storage priorities that both alternatives must address. Save a baseline before changing the furniture arrangement. Keep the same units and avoid quietly enlarging the room to make one option fit. If an alternative depends on moving an opening or changing equipment, label that dependency explicitly so the design team can evaluate it separately.
Compare ordinary use
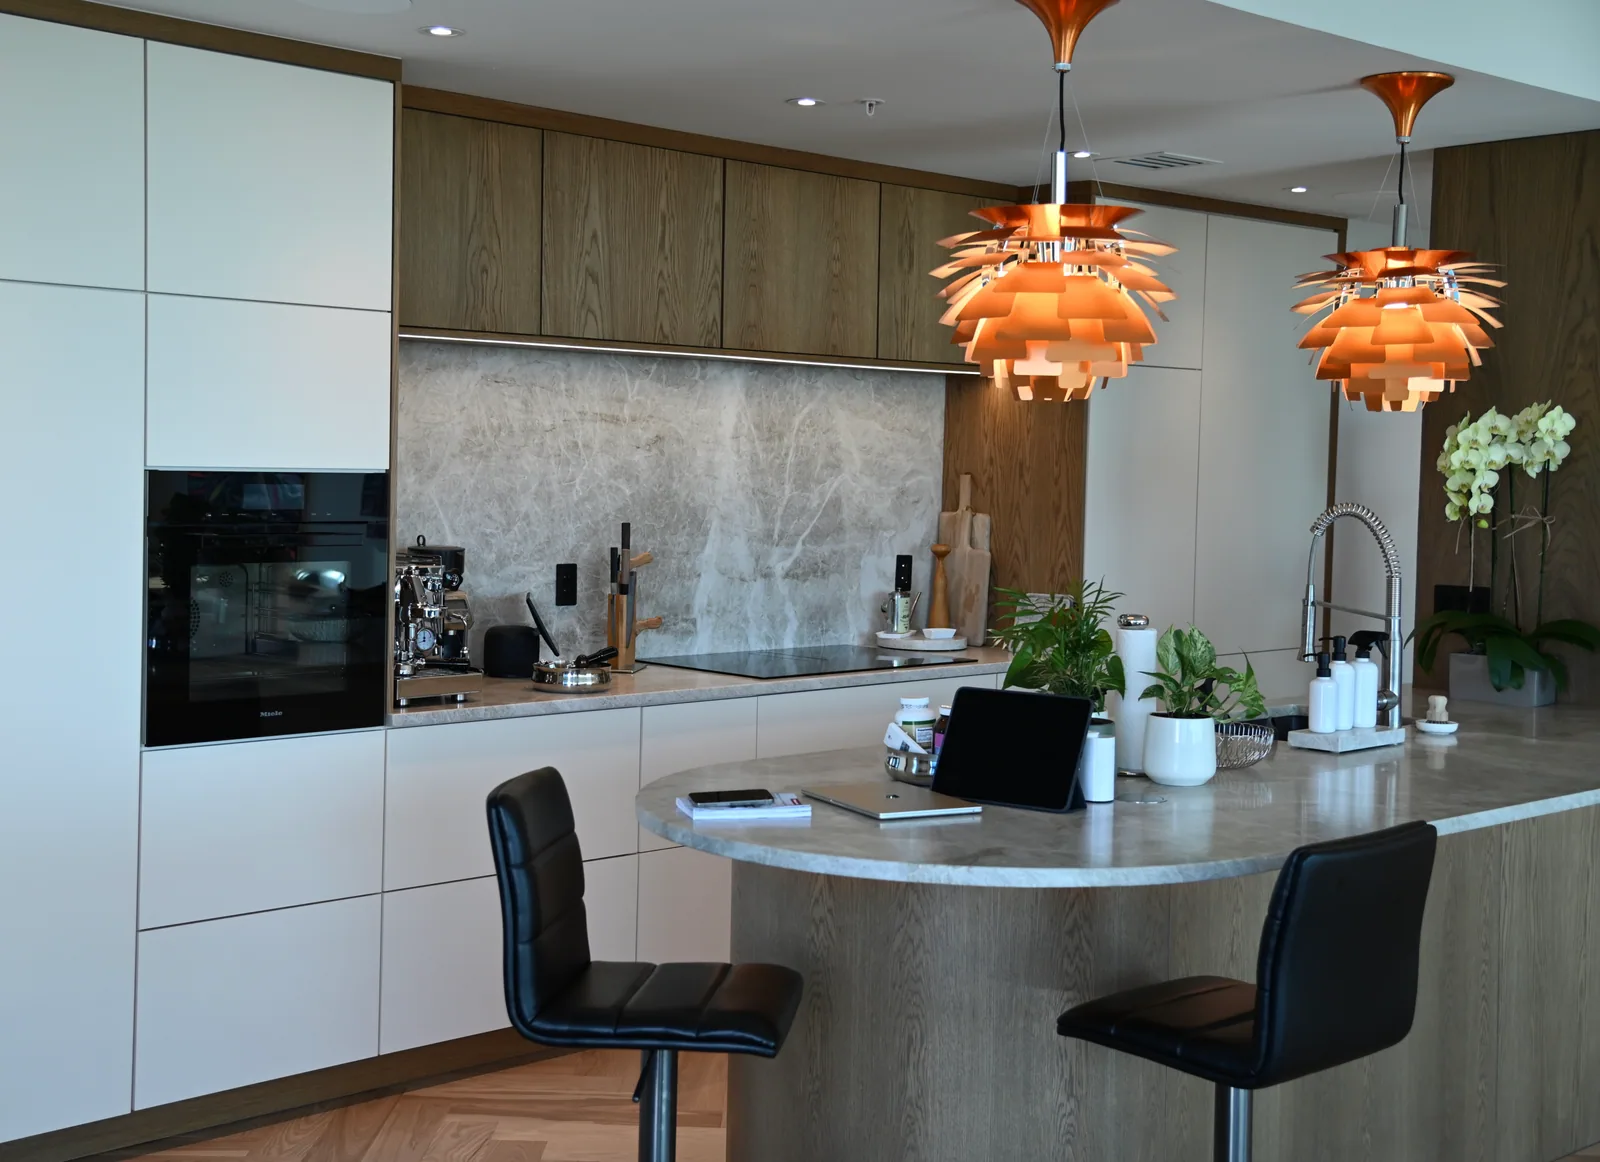
Trace preparation, cooking, cleanup and through-traffic in each version. Review the island, seating and access to frequently used storage. Look at placement warnings and the relationship to doors and windows. Use similar camera angles when comparing the options so perspective does not make one arrangement appear more spacious. A layout with more cabinets may still perform worse if those cabinets reduce a useful work surface or interfere with simultaneous activities.
Preserve the reasoning
Save identifiable versions or exports and write a short note about each option's advantages and unresolved issues. Do not rely only on an image filename that gives no clue which room revision it represents. Send the alternatives with the same photos and appliance information to LeVika. Ask the team to assess the tradeoffs against actual measurements and product requirements. The goal is not to select a winner by appearance alone, but to create a focused discussion about which arrangement best supports your room and routine.
Your next useful steps.
Three questions to bring.
- Are both versions based on the same room size and openings?
- Which version handles cooking, cleanup and through-traffic better?
- Does either option depend on moving a door, window or appliance?
A method for using LeVika's 3D Studio. The team assesses the chosen layout against actual measurements and product requirements.