
Two-Tone Kitchen Cabinets: How to Balance the Palette
Two-tone cabinetry works best when the change in finish explains the room. Decide whether contrast separates the island, a tall storage zone or a particular architectural feature before selecting colors.
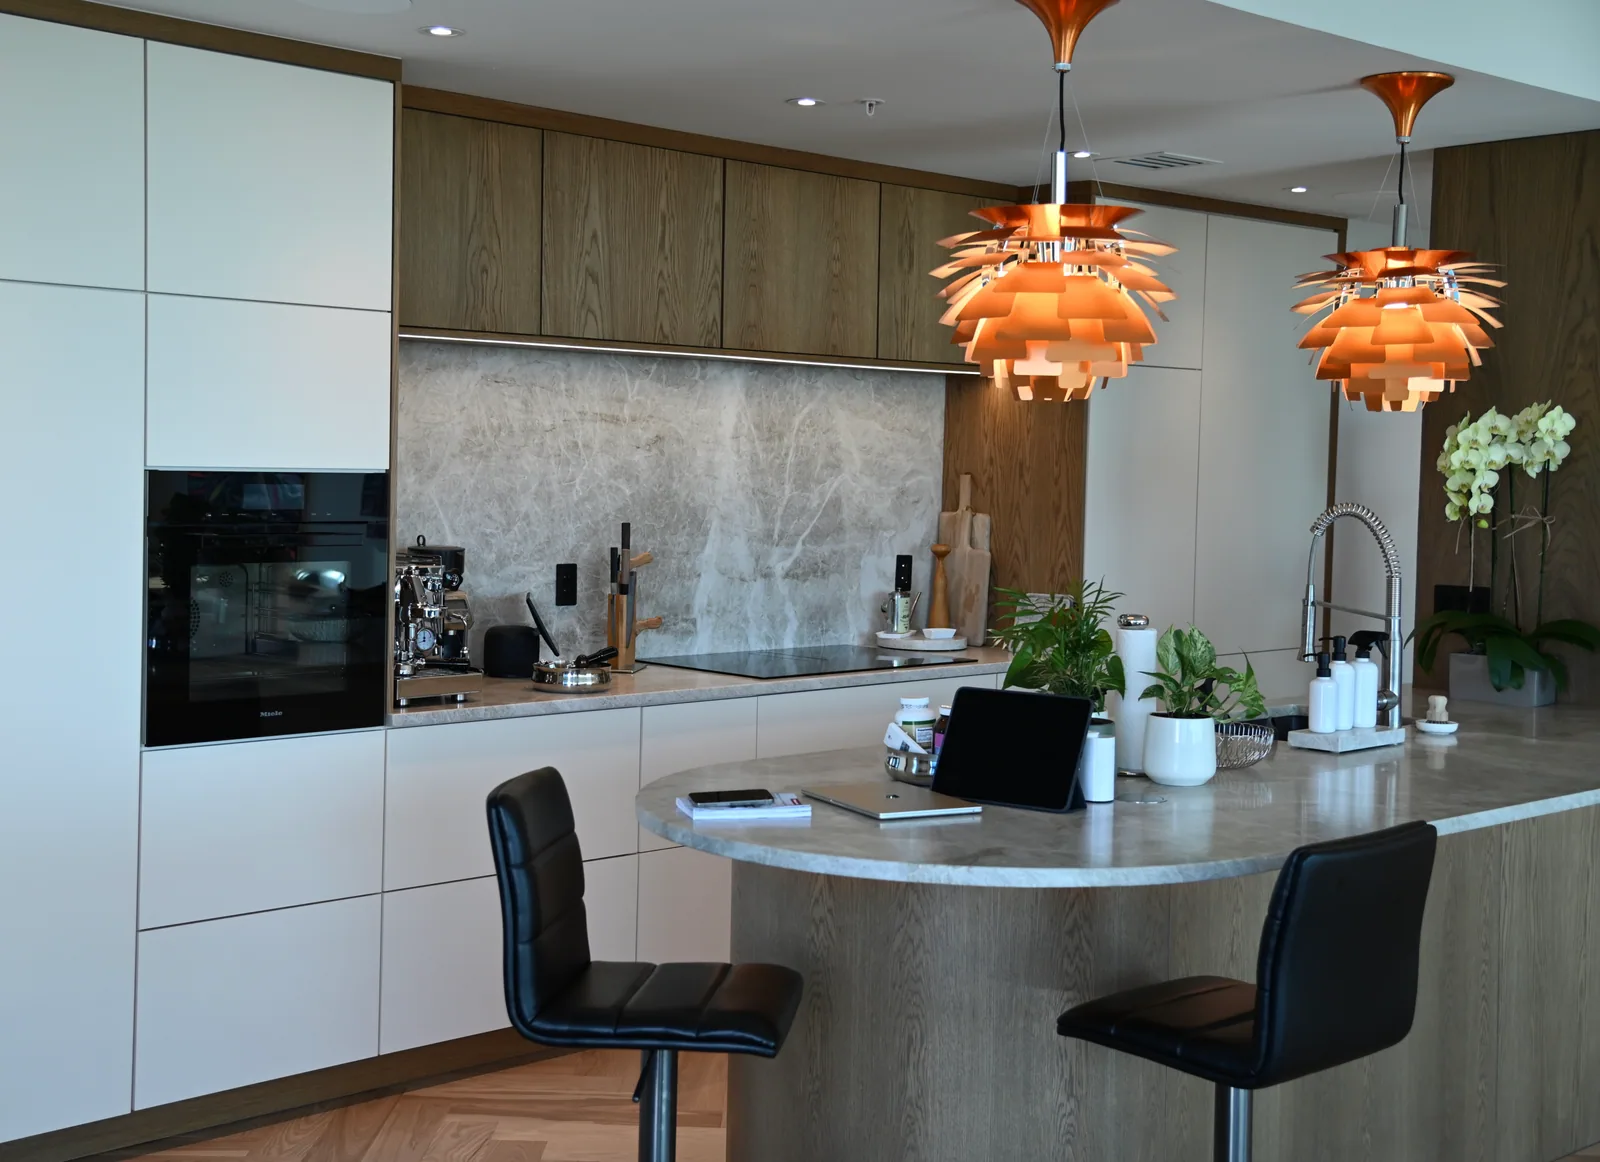
Choose the organizing idea
Identify the main volumes in the kitchen and decide which should lead. A contrasting island can read as a distinct central element, while a tall wall may benefit from a quieter finish. Avoid changing color at arbitrary cabinet boundaries. Review the plan and elevations together so the division remains understandable from several viewpoints. The goal is not an equal quantity of each color, but a clear relationship between the surfaces and the room's functions.
Compare contrast at room scale
Place larger samples beside counters, floors and wall finishes. A small dark sample may seem understated but become visually dominant across a tall run. Consider exposed island backs and cabinet ends, since these can occupy more of the view than the fronts. Use the Studio to compare large color relationships while recognizing that display settings and rendering do not reproduce the final finish. Keep physical samples as the approval reference for tone, sheen and grain.
Coordinate the supporting details
Review hardware, lighting and visible appliances after establishing the main finish relationship. Repeating one restrained detail can connect different cabinet colors without adding a third competing theme. Ask how the transition will be handled at adjacent panels and decorative elements. Record both finish specifications and their exact locations on the approved drawings. That schedule prevents a later substitution or verbal change from altering the intended balance across the room.
Your next useful steps.
Three questions to bring.
- What does the change of colour explain in our room?
- How much of the view do island backs and tall ends take up?
- Which single detail connects the two finishes?
Design guidance. Studio colours help compare proportions; physical samples are the reference for tone, sheen and grain, and each finish is marked on the approved drawings.