
Using 3D Visualization to Choose Cabinet Finishes
Use visualization to compare where finishes appear and how large surfaces relate. Confirm the actual color, sheen, grain and product specification with physical samples before manufacturing approval.
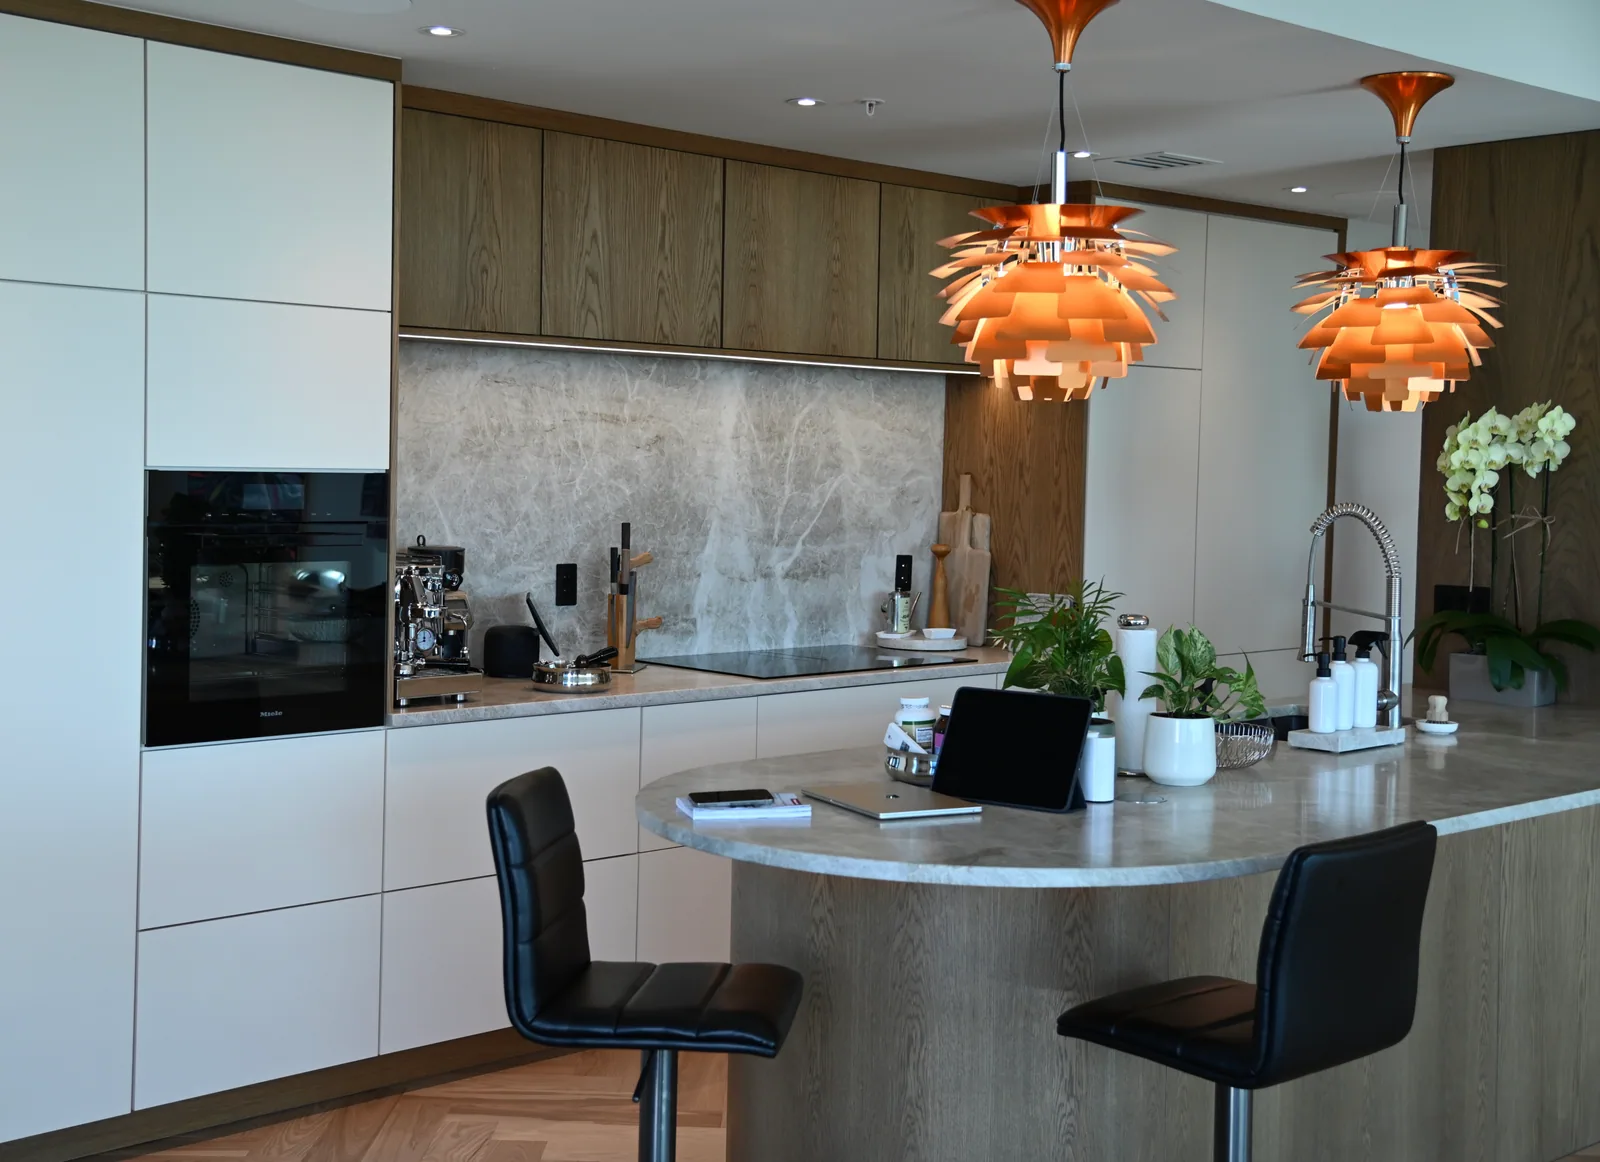
Test the distribution of materials
Compare an island accent, a quieter perimeter or a different tall-wall treatment using the same room view. Notice exposed backs and ends as well as the fronts. These surfaces can change the balance of a two-tone composition. Work within the available client-relevant finish choices rather than assuming every screen color represents an orderable product. The Studio is useful for discussing the location and proportion of contrast, even when its lighting cannot reproduce the final room exactly.
Keep the rendering's limits visible
Display brightness, scene lighting and material settings affect what you see. A simulated wood surface does not establish the species, veneer selection, coating or grain match that will be supplied. Likewise, a glossy-looking counter in the model does not define its manufacturer or fabrication details. Ask LeVika which references correspond to real available systems and which remain visual planning aids. Do not approve a material solely because it appears convincing in a screenshot.
Connect the concept to samples
Bring the selected cabinet samples beside the counter, floor and wall materials in the actual room light. Mark the approved finish locations on the drawings and retain the product references. If a finish changes after the concept review, update the relevant notes so the model and written schedule do not suggest different choices. A successful visualization narrows the conversation and clarifies the palette; the final specification supplies the information that a rendered surface cannot prove.
Your next useful steps.
Three questions to bring.
- Where should contrast sit: the island, the perimeter or a tall wall?
- Which Studio finishes correspond to real, available products?
- Have we seen the samples together in our own light?
Screen colours and lighting differ from real materials. Approved finish locations are marked on the drawings with their product references.