
What a 3D Kitchen Visualizer Can—and Cannot—Show
LeVika's Studio is a guided planning tool. It helps communicate room dimensions, representative furniture and layout preferences, but it does not replace the verified information needed to manufacture and install cabinetry.
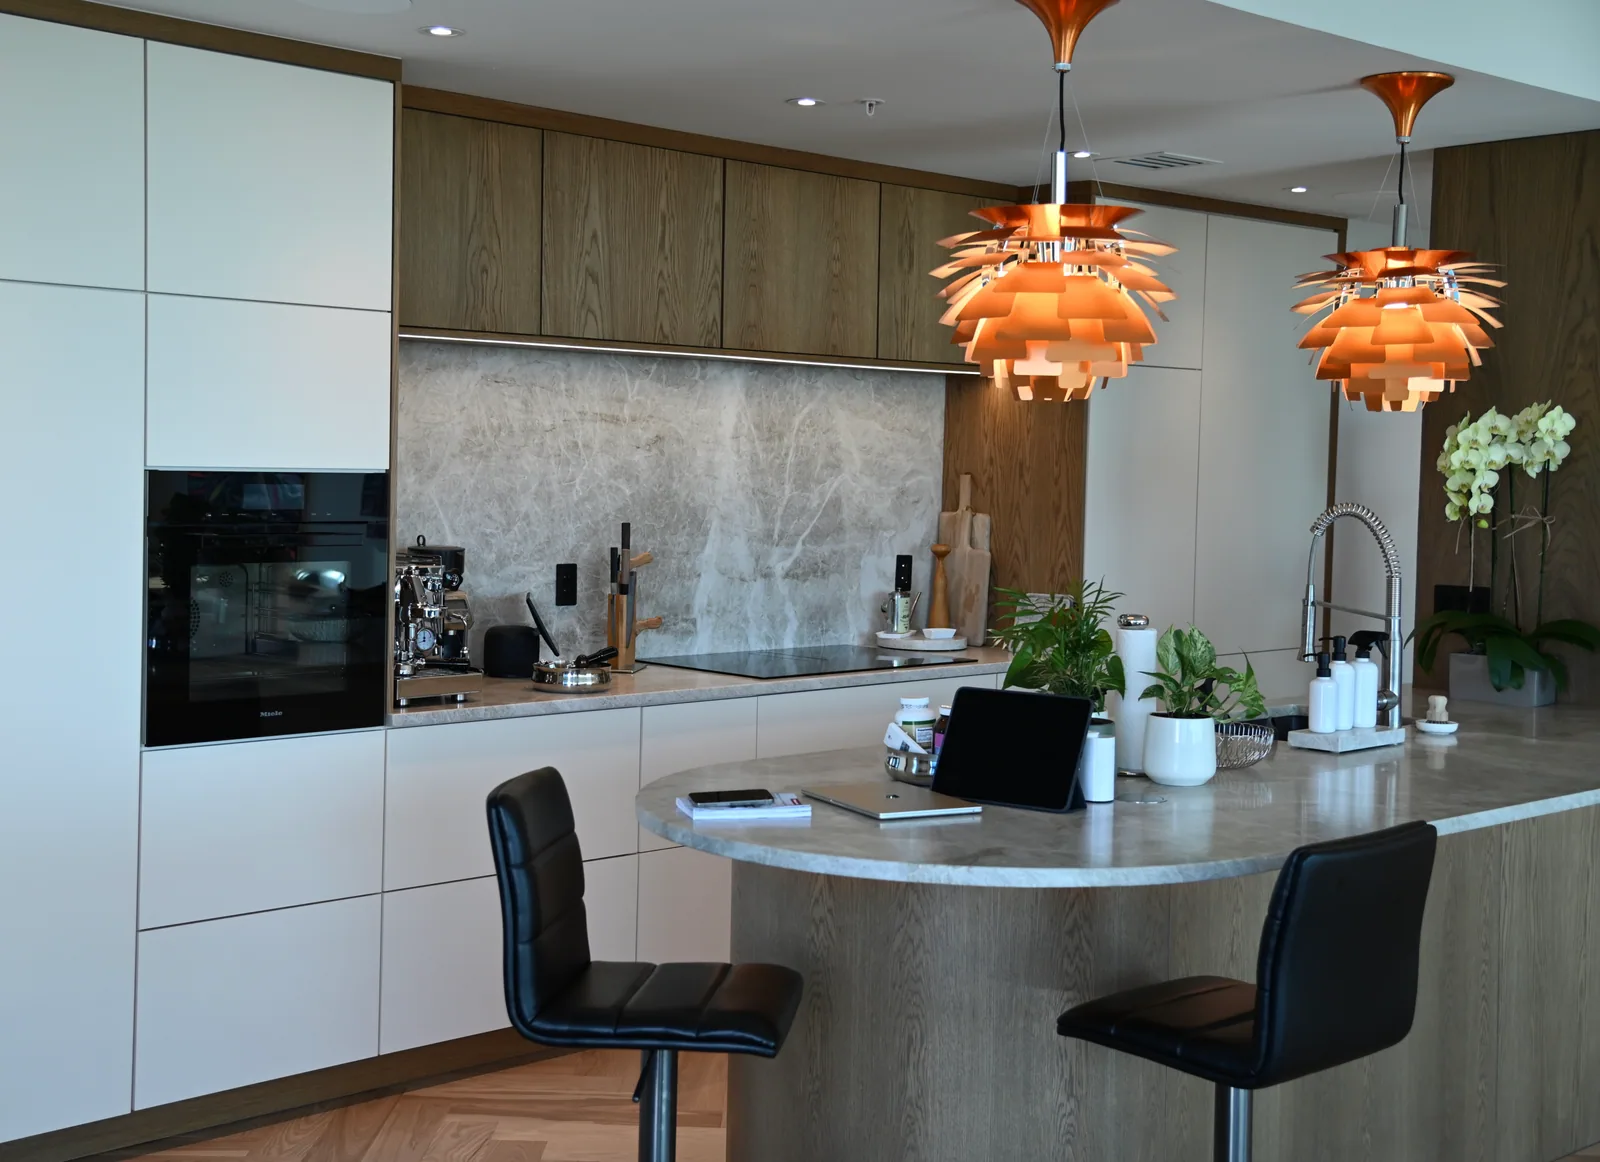
Use the model for spatial decisions
Compare room layouts, opening positions and the relationship between major furniture groups. Try complete templates as a starting point, then adjust the concept to explain your priorities. Inspect the room from several angles instead of judging only a single attractive camera view. Placement warnings can draw attention to collisions or boundary issues within the model. They depend on the information entered and the supported geometry, so they should prompt review rather than be treated as a universal guarantee of a workable kitchen.
Recognize what remains outside it
The model does not verify the building's structure, utility installation, local requirements or every appliance's technical instructions. It cannot identify concealed site conditions from photographs. Rendered color and lighting also differ from physical samples and the completed room. A client's real furniture model can improve the visual reference without converting the concept into a final shop drawing. Detailed construction, hardware and finish specifications still need to be agreed with LeVika for the actual project.
Hand off the concept with context
Save the project and include the relevant export or project reference when submitting your brief. Add room photos, appliance documents and notes about uncertain measurements. Explain which part of the model represents a firm preference and which is exploratory. This gives the team a useful starting conversation instead of an apparently finished design containing hidden assumptions. The Studio succeeds when it makes your needs easier to discuss and verify, not when it encourages an unreviewed concept to be treated as a manufacturing order.
Your next useful steps.
Three questions to bring.
- Which parts of our concept are firm preferences, and which are experiments?
- Which measurements in the model are uncertain?
- Which warnings did the Studio show, and have they been reviewed?
Describes LeVika's own 3D Studio. Its warnings depend on the entered information and are prompts for review, not certification.