
How to Plan Custom Cabinetry for an Entire Home
Whole-home cabinetry does not mean repeating the same cabinet in every room. It means deciding which proportions, finishes and details connect the home—and adapting storage to what actually happens in each space.
Create a room schedule before a finish schedule
List each room, its main storage problem and the items that need a home. Record dependencies such as a refrigerator specification, bathroom plumbing or office equipment. Mark which rooms must be completed together and which can be phased. This prevents an attractive material board from hiding unresolved functions. A closet, a vanity and a desk can share a finish direction while requiring completely different interior arrangements and interfaces.
Choose a small set of connecting details
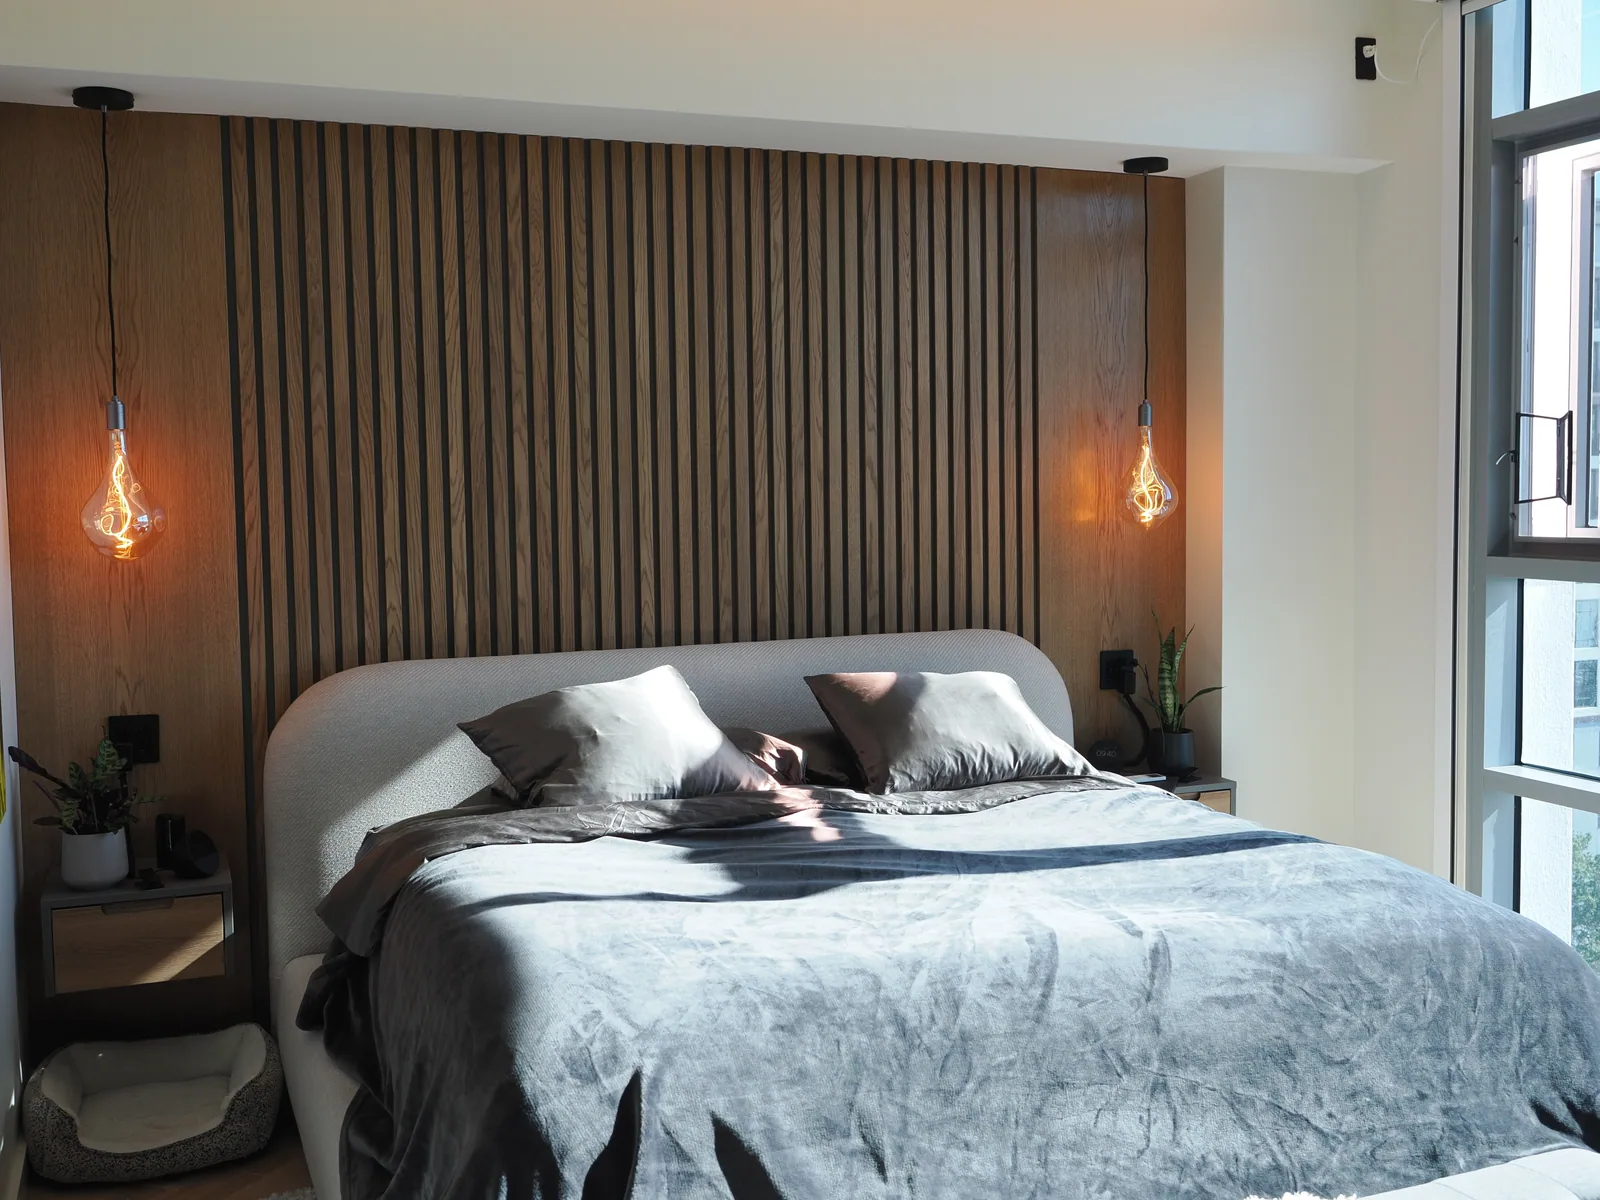
The supplied residential collection shows wood in the kitchen, vanity and bedroom, with slate-blue cabinetry in the office and wardrobe. The rooms do not look identical. Their connection comes from clear planes, considered vertical lines and a restrained relationship between wood and quieter surfaces. Use a reference like this to discuss where a finish should repeat and where contrast is intentional. Do not assume that visually similar photographs prove an identical substrate or coating in every room.
Review transitions and sightlines together
Stand where two rooms are visible at once. Compare the height of tall cabinetry, exposed end panels, door lines and the direction of grain or slats. In a bedroom, include the wardrobe, headboard wall and bedside storage in the same review. In an open kitchen, look back from the living space toward the island. These views often reveal conflicts that separate room elevations miss. Add photographs of those transitions to the project brief.
Release each room with a clear approval record
A shared design direction should not turn one room’s open decision into uncertainty across the entire project. Maintain a current drawing set, finish record and list of approved versus open items for each room. When phasing is needed, discuss material continuity and site readiness before production is scheduled. The client cabinet can hold project documents, messages and decisions, but the team still needs a clearly named revision to manufacture from. Keep the delivery plan connected to the real site sequence.
Your next useful steps.
Three questions to bring.
- Which rooms need to feel connected?
- Which rooms must be completed together?
- What is still undecided in each room?
The kitchen, office, vanities and bedroom are grouped in the supplied residential email collection. Public presentation uses descriptive room names rather than a private client name.